Finding yourself locked out of your iPhone because you forgot your Apple ID or password can be frustrating as it can quickly render your phone into a useless device. You might find that some YouTube bloggers said that you can bypass iCloud with an IPSW file, but didn’t show you how to do that with a full video.
In this article, we’ll tell whether you can bypass iCloud with an IPSW file or not and how to create a custom IPSW file. Keep reading the article till the end.
Part 1: Can You Bypass iCloud with Custom IPSW File?
The short answer is yes, with some caveats. Installing a modified IPSW file lets you trick your iPhone into activating it without requiring your valid Apple ID and password. However, it is technically possible to bypass iCloud this way, but it is quite delicate. One small mistake could lead to permanent damage, bricking your iPhone forever. Even if done correctly, Apple may remotely lock the device if detected, meaning this solution might only grant temporary access.
While the potential exists, the process is risky, and success is not guaranteed. But for those locked out with no choice, custom IPSW to bypass iCloud presents an option, albeit nerve-wracking!
The process to create a custom IPSW is very complicated. If you can’t create one on your own, you can contact a trusted YouTube blogger to download a custom IPSW file. Of course, you need to pay for it. Additionally, you can bypass the iCloud Activation Lock with an iCloud remover.
Part 2: How to Create a Custom IPSW to Bypass iCloud on Windows?
Now that you have the basic know-how of custom IPSW to bypass iCloud and the risks involved let’s go through the nitty-gritty steps to modify an iOS firmware file to remove the iCloud activation lock. Follow the steps to implement the custom IPSW bypass iCloud method properly.
Step 1. First, download the dedicated IPSW file on your Windows PC from IPSW Downloads website and change its extension. ZIP. Use a Zip extractor to extract the file at a safe location on your PC.
Step 2. Once you have extracted the file successfully, you’ll see different files with the “.dmg” extension. Locate the largest dmg file and copy it to the desktop.
Step 3. You need to download a file manager which can open dmg files from Windows.
Step 4. Drag the dmg file to the file manager you just installed. It may take some time for the tool to load all files.
Step 5. Once done, navigate to Applications – Setup.app – Setup file. Just delete from the folder.
Step 6. Drag the dmg file back to the folder and compress the folder.
Step 7. Change the extension back to .ipsw and restore your iPhone with this file.
Part 3: How to Custom IPSW to Bypass iCloud on Mac?
However, if you don’t have a Windows PC and instead have a Macbook. The method will be different. You need to download XPwn, a cross-platform command line tool.
Below are the steps to bypass iCloud using custom IPSW.
Step 1. Download the IPSW file on your Mac and extract it.
Step 2. Open a terminal window. Type cd and drag the XPwn folder to the terminal window, then press the return key.
Step 3. Now type ./dmg extract, locate the largest dmg file in the IPSW folder and drag it to the terminal window. Then type dec.dmg -k and the firmware key, which can be found on The iPhone Wiki website. Press the return key.
Step 4. It will take some time to process, and you will see the dec.dmg file. Click on it.
Step 5. Click on the drive named according to your device’s codename. Go to the Applications folder and delete Setup, then empty your trash.
Step 6. Eject the target dmg file from Finder. Now, we have to convert the file to UDZO format. Type the command ./dmg build dec.dmg “name of base IPSW rootfs” and press return. You can find the name of the root filesystem of the base IPSW on The iPhone Wiki website.
Step 7. Wait for a minute or two for the completion of the process.
Step 8. Download the base IPSW and extract it to the ipsw-folder. You’ll find one dmg file in the folder. This is the restore ramdisk file. We need to modify it for custom IPSW to work properly. Find the correct key and IV for base IPSW from The iPhone Wiki website.
Step 9. In the terminal window, type ./xpwntool and the name of your ramdisk.dmg file. Type decramdisk.dmg -iv iv -k key. Paste IV and the key you copied from the iPhone Wiki in the place of iv and key, respectively.
Step 10. You will find another dmg file called decramdisk.dmg in your XPwn folder. Double click to open it. Then you will see a disk named ramdisk in the sidebar of Finder.
Step 11. Go to usr>local>share>restore, and you will see 2 files with the .plist extension.
Step 12. Open both files in the Text editor and change the value inside integer tags.
Step 13. Under the last false tag, type <key>FlashNOR</key><false/>, save these files, and click OK if it gives any warning.
Step 14. Run this command ./xpwntool decramdisk.dmg “baseipswnumber.dmg” -t “drag matching ramdisk from OG base” -iv IV -k KEY to encrypt decramdisk.dmg as the original IPSW restore file.
Step 15. Now, if you have the same numbered dmg in the folder as before decrypting it, you have done everything right.
Step 16. Copy both re-encrypted ramdisk files to the base IPSW folder and compress it. Make sure the extension should be .ipsw.
Step 17. Rename it to the format modelitentifier_x.x.x_buildID_custom.ipsw. For example, iPad1,1_6.0_10A403_custom.ipsw. Remember, version number and buildID should be of the target device, not the base device.
Step 18. Now, we have successfully created a custom IPSW. There are some further things that we need to do to make it work properly.
Step 19. You need the base IPSW you downloaded from ipsw.me and the key server template. Extract the key server file; the folders should look like this: Keys Server>firmware>modelidentifier>BuildID. The model identifier should be the target device, and the buildID should be the base IPSW. For example, for us, the model identifier is iPad1.1, and the buildID is 9B206. So, the whole path should look like
Step 20. Now, we will edit the key server, which is now named 9B206.txt. You should get the Target IPSW keys and IVs from The iPhone Wiki.
Step 21. Open the file and edit KernelCache (“kernelcache.release.n94”), DeviceTree (“DeviceTree.n94ap.img3”), iBSS (“iBSS.n94ap.RELEASE.dfu”), iBEC (“iBEC.n94ap.RELEASE.dfu”), and AppleLogo (“applelogo@2x~iphone.s5l8940x.img3”). You should only have to edit the Keys and IVs in these fields. The Keys and IVs should be of Target IPSW. For iBSS and iBEC, you should use base IPSW keys and iVs.
Step 22. Save the file and rename it to remove the .txt extension from it.
Step 23. Now you have both base IPSW and target IPSW already extracted; go to firmware>all_flash>all_flash.xxxxx.production on both, copy the name of kernelcache in base IPSW, and delete it. Then move kernelcache from the target IPSW to the base IPSW directory and rename it with the copied name. Do the same for both the Apple Logo and Device Tree.
Step 24. Highlight all the content in folder 5.1.1 and compress it. Now rename it to Boot. Now, you have successfully created a custom IPSW.
Part 4: Can’t Bypass iCloud with Custom IPSW? Fixed It Here
As you can see, it’s complicated to create a custom IPSW to bypass iCloud and it has a low success rate. If none of the above methods on custom IPSW bypass iCloud works for you, worry not! We still have a workaround for your device. We recommend using a trusted third-party iCloud Activation lock remover. The tool is none other than FonesGo iPhone Unlocker. It is a modern software equipped with various features, like unlock iPhone 4/6 digit passcode, sign out current Apple ID without password, bypass MDM lock and reset Screen Time passcode without data loss.
Here are some key features of FonesGo iCloud Remover:
- Easy to use: You can bypass iCloud Activation Lock within several simple steps. And you only need a computer and a USB cable.
- Wide compatibility: It supports iPhone/iPad/iPod touch models running iOS 12.0-16.7.
- High success rate: Based on the professional technical team and advanced algorithm, it guarantees a high success rate up to 90%.
- Cross-platform tool: It works on Windows and Mac system.
Here are steps to bypass iCloud with FonesGo iPhone Unlocker.
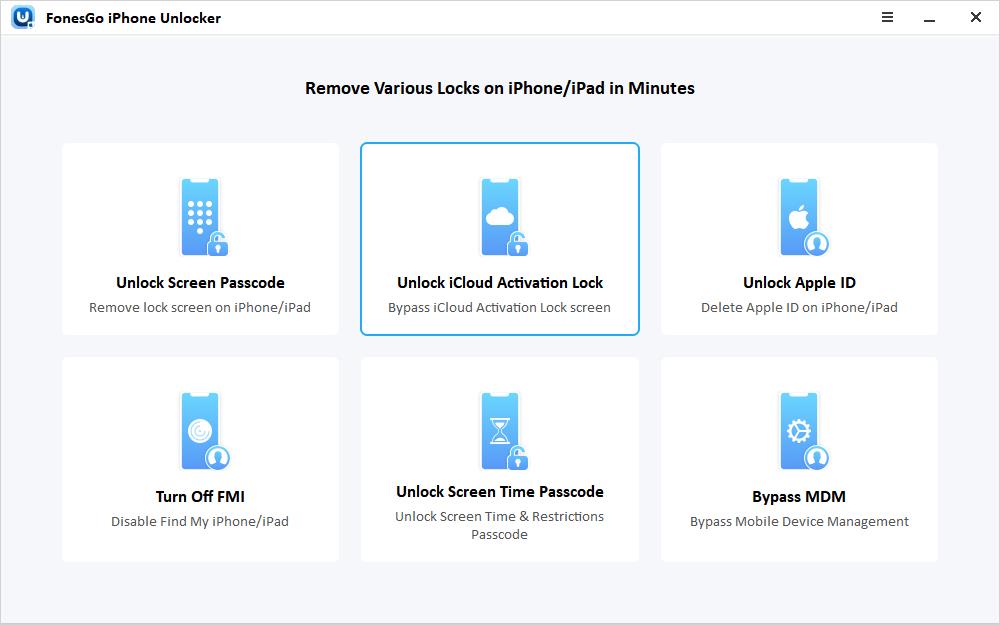
- Step 1 Download and install FonesGo iPhone Unlocker on your computer. Then, connect your iCloud-locked device to your computer using a USB cable. Open FonesGo iPhone Unlocker and click on “Unlock iCloud Activation Lock.”
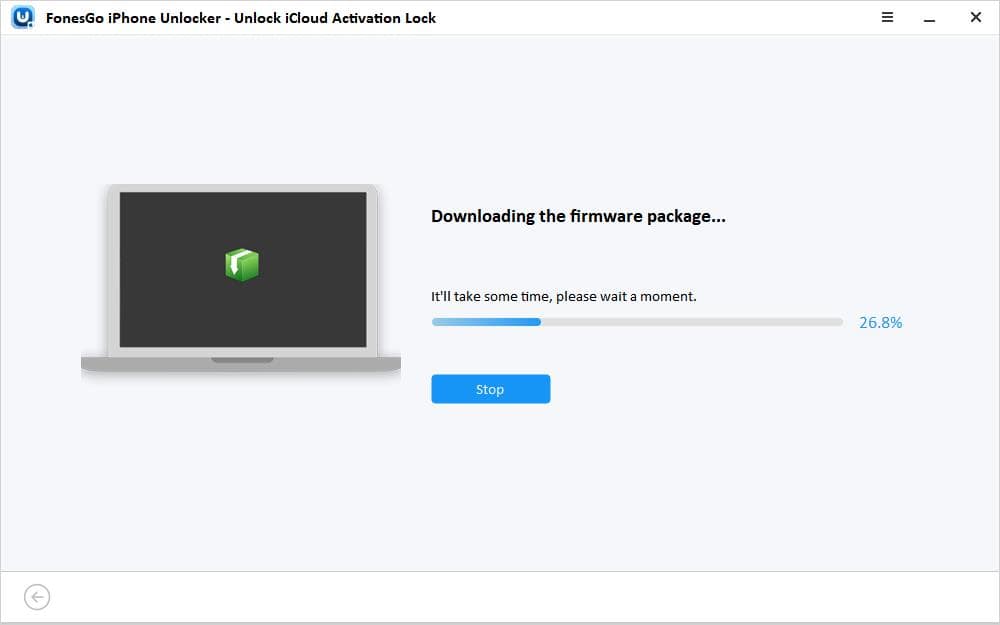
- Step 2 It will now prompt you to download the firmware file for your iOS device. Make sure your computer is connected to a strong network, then click Download.
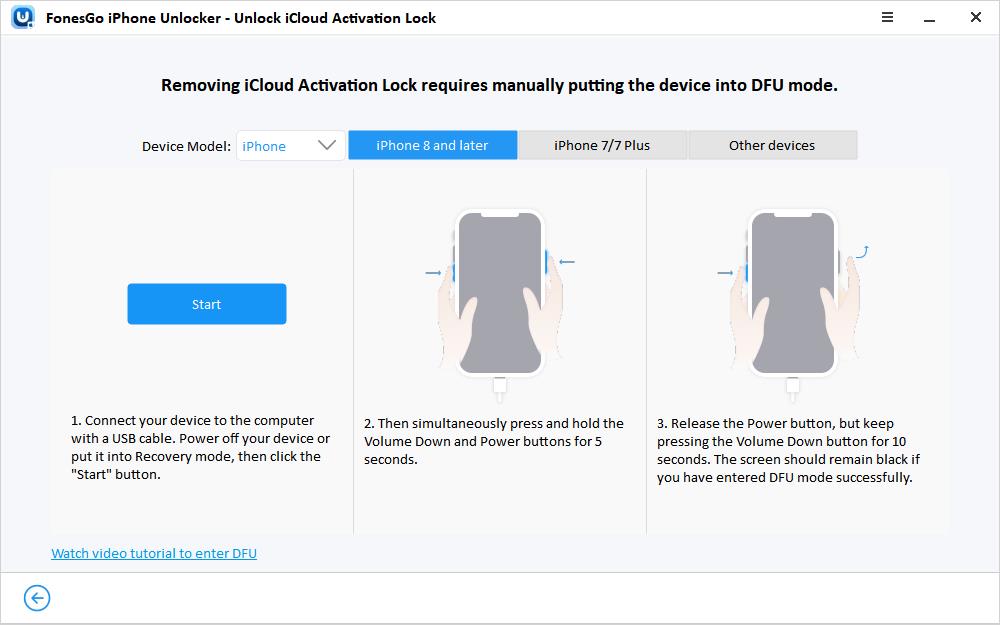
- Step 3 Once the firmware is downloaded, click “Remove Now”. This will kick your device into recovery mode. Now, follow the instructions on the screen to manually put your device into DFU (Device Firmware Update) mode.
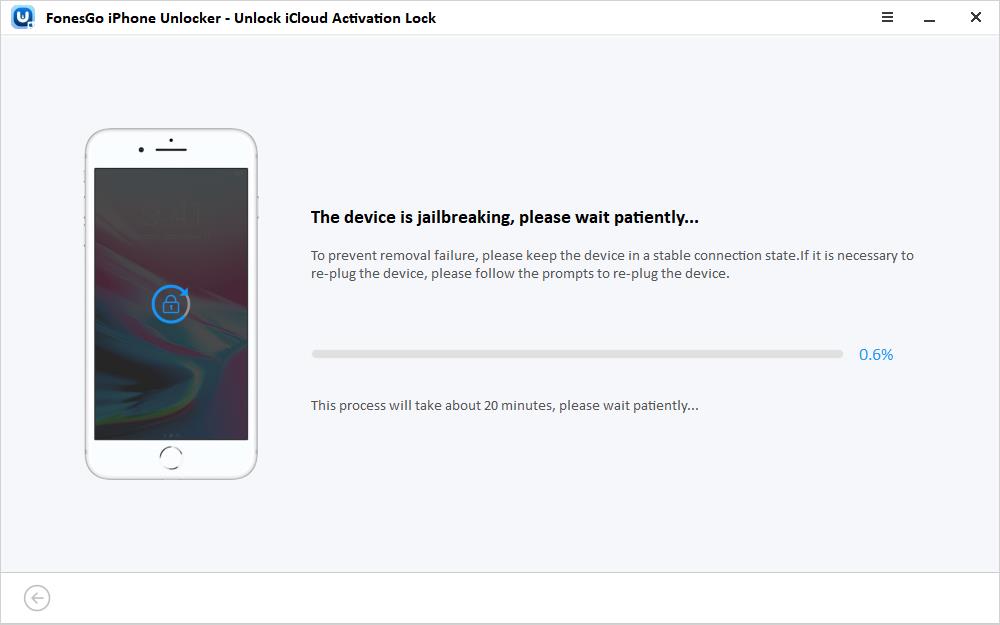
- Step 4 FonesGo iPhone Unlocker will now use its fancy unlock algorithms to jailbreak your device. Just let it do its thing! If it asks you to re-plug your device, do it quickly.
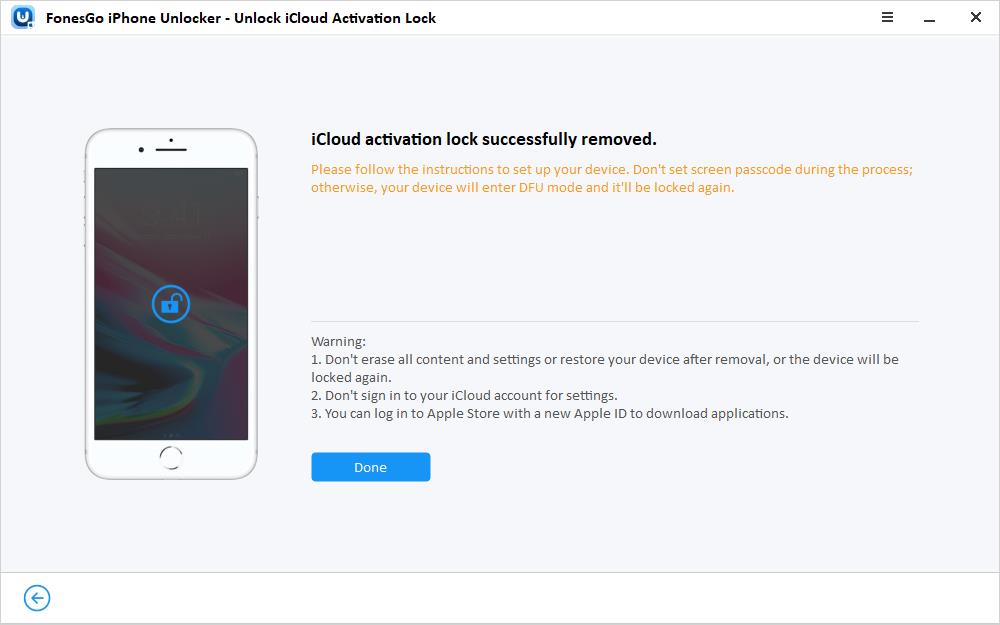
- Step 5 After jailbreaking your device, you must put it back into DFU mode one last time. Follow the on-screen instructions. Finally, FonesGo removes the iCloud activation lock automatically! The whole process takes just 1-2 minutes. Once completed, your iPhone/iPad/iPod will restart and no longer be activation-locked.
Conclusion
It’s a common issue that Apple users may get stuck on the Activation Lock screen. You can try to solve the problem by creating or downloading a custom IPSW. But the process to create a custom IPSW is very complicated and it’s hard to find a trusted source to download one. And it only works for some iOS versions.
If you want to bypass iCloud on iPhone/iPad/iPod touch quickly and easily, we recommend using FonesGo iCloud Remover, which is easy to use and provides a quick workaround for bypassing iCloud.

